Key Takeaways
- Uber retains ride history, Uber Eats orders, personal details, payment information, and interaction records in your account.
- As long as your account is active, there is no way to actually delete existing trips and orders.
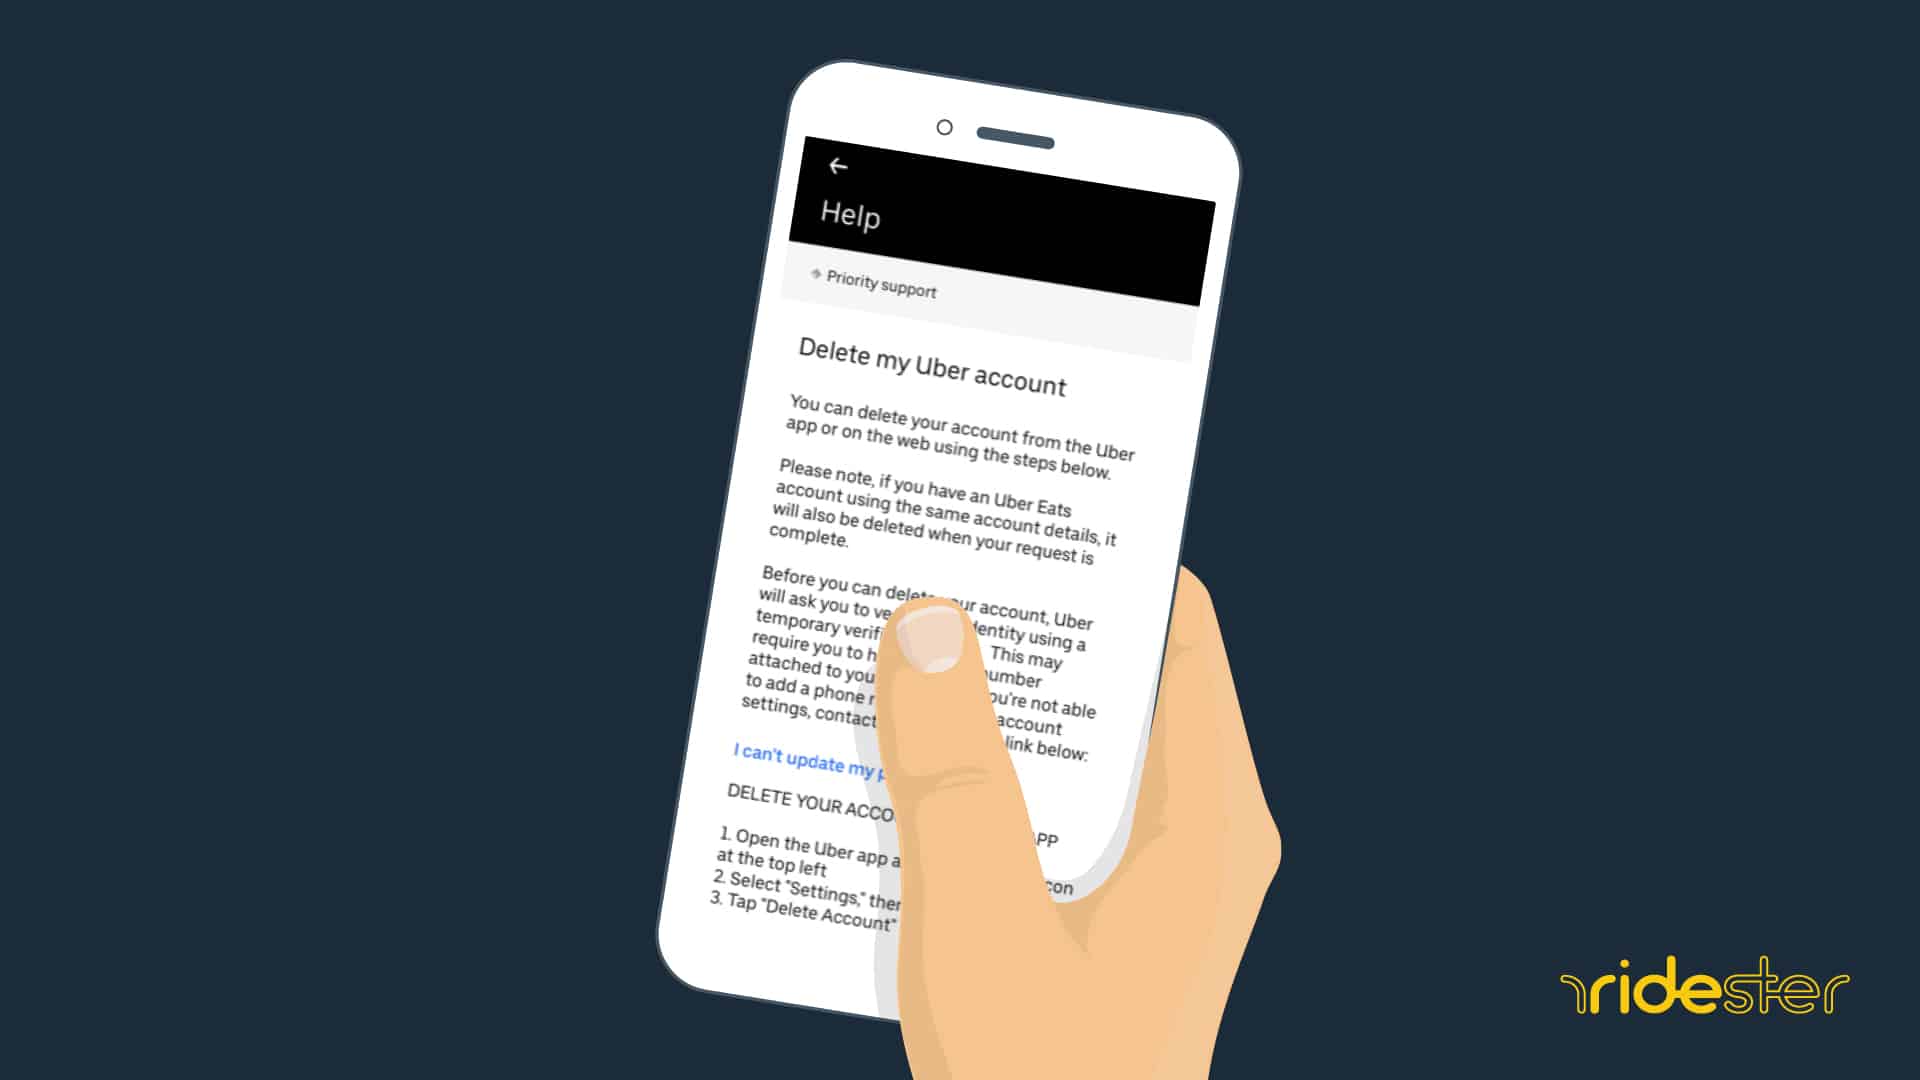
- You can permanently remove your Uber history by deleting your entire Uber account via the app or website.
- Account Deletion Process in App: Access Uber app settings, navigate to privacy settings, and follow prompts to delete your account.
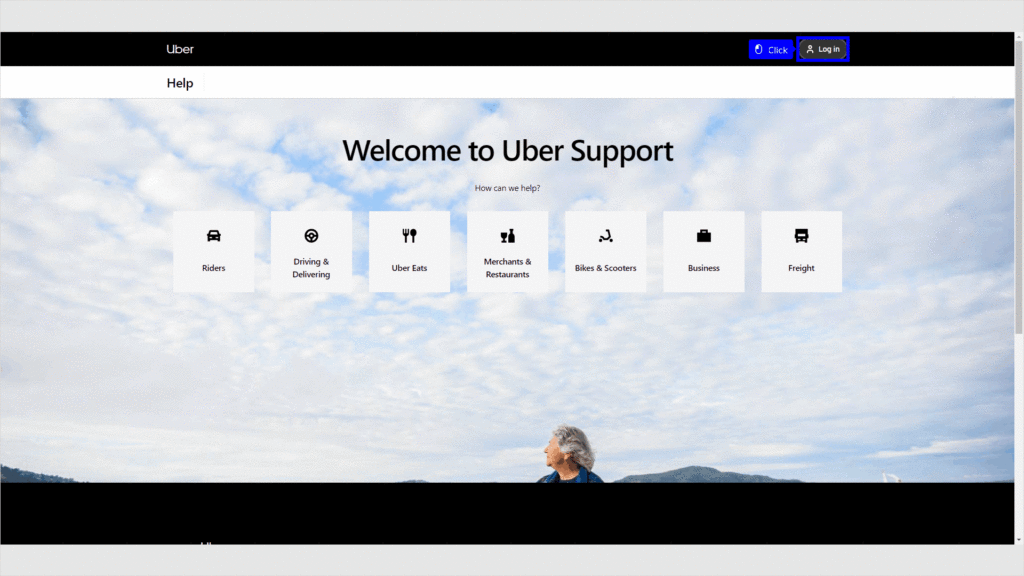
- Account Deletion on Website: Log into Uber’s website, go to the Help section, and choose the option to delete your account.
Can You Delete Uber History?
There is no way to selectively delete an Uber trip or an Uber Eats order from your history as an Uber or Uber Eats user.
The only way to delete your Uber history is by deleting your entire Uber account. This can be done either through the mobile app or the Uber website.
However, this process is irreversible and permanently removes all your account data, including ride history, Uber Eats history, and any other data connected to Uber services you’ve used.
After deletion, your account enters a deactivated state for 30 days. If you don’t reactivate within 30 days, your account and all associated data, including ride history, are permanently deleted.
Brett’s Take: Thoughts From an Expert
In my years running this site, I’ve heard every reason under the sun for wanting to delete Uber history, from situations like hiding trips from parents or partners.
Unfortunately, it doesn’t matter what the reason for wanting to delete the trip or order history is – Uber’s policy remains the same: your past trips and orders are part of your account history and are retained by Uber.
Uber considers ride and delivery history as their data. This means they retain control over it and typically don’t allow users to delete it.
There’s technically no standard process for history deletion. However, for specific concerns or exceptional cases, contacting Uber support might offer some assistance.
If you have a really good reason for wanting to delete some part of your Uber history, you may have a chance.
It’s worth reaching out and asking about, you never know what can happen.
What Data Does Uber Store Within Your Account?
Uber stores various data in your account based on the services you use, like ride history, Uber Eats orders, and Jump Bikes.
This includes personal details (name, email, phone number, ratings, sign-up date), payment information (date, bank name, billing country, type), support interactions, saved places, trip details (locations, times, distance), transaction data (currency, prices), and mobile event data (device model, language, OS, app version).
For Uber Eats, it includes restaurant names, ordered items, and special instructions. Some data, like social security numbers, birth dates, bank and mailing addresses, credit card details, and certain promotions and credits, are excluded for security reasons.
You can request your data from the My Privacy page on Uber’s website.
Alternative: How to get an Uber receipt
How to Delete an Uber Account Using the Uber App

In order to delete your data, you will need to delete your Uber account, which will also erase your Uber ride history. Here’s how:
How to Delete an Uber Account Using the Uber App

- Open the Uber App: Locate the Uber app on your phone or tablet. It’s the black icon with “uber” in white letters.
- Access the Menu: Tap the menu icon (☰), located at the top-left corner of the screen.
- Go to Settings: Find and tap “Settings” at the bottom of the menu.
- Navigate to Privacy Settings: Scroll down and select “Privacy”, usually found toward the bottom of the menu.
- Choose to Delete Your Account: Tap on “Delete Your Account” at the very bottom of the screen, displayed in red.
- Verify Your Password: Enter your password when prompted and tap “Verify” to confirm your identity.
- Confirm Deletion: After your password is verified, you’ll be directed to a summary page. Tap “Continue” to proceed with the deletion.
- State a Reason: Select a reason for deleting your account or choose “Prefer not to say”.
- Final Confirmation: Tap “Delete” to confirm. Your account will be deactivated for 30 days, after which it will be permanently deleted if you don’t log back in.
How to Delete an Uber Account Using the Uber Website

- Log In to Uber Website: Visit Uber’s website and log in. You can do this on a mobile or desktop browser.
- Access Help Section: Click on “Help”, located near the top-right corner of the page.
- More Options in Account and Payment: Click on “More” under the “Account and Payment Options” section.
- Delete Your Account: Scroll down and click on “Delete my Uber Account”, found under the “Changing my account settings” header.
- Confirm Account Deletion: Follow the prompts to delete your account. If you’ve verified your identity recently, your account will be deleted immediately. Otherwise, you’ll be asked to verify a temporary code sent to your phone number.
Note:
- If you have a driver account associated with your rider account, you need to fill out Uber’s “Delete my Driver account” form separately.
- Remember, once your account is deactivated, you have 30 days to reactivate it before it’s permanently deleted along with all associated data, including ride history.
How to Check Your Uber Ride History on Google Chrome
To check your Uber ride history using Google Chrome:
- Access Uber Website: Open Chrome, go to the Uber website, and log in with your credentials.
- Install RideShare Trip Stats Extension: Download and install the “RideShare Trip Stats” Chrome extension.
- Use the Extension: After installation, click the extension icon near the address bar and press “OK”.
- Navigate to Trips Page: The extension directs you to the Trips page, similar to the in-app version.
- View Ride Statistics: Click the extension icon again for a comprehensive report of your ride data.
- Opt for Aggregate Data: To avoid downloading individual trip data and receiving multiple emails, click “No” when prompted and review your overall ride statistics like total rides, expenditure, and time spent in Ubers.


